Use this walkthrough to move from a new workspace to a clear publication report. Each screen below is an illustrative preview with sample data; your connected platforms, available actions and campaign results depend on your workspace setup.
STEP 01
Create Your Workspace And Sign In
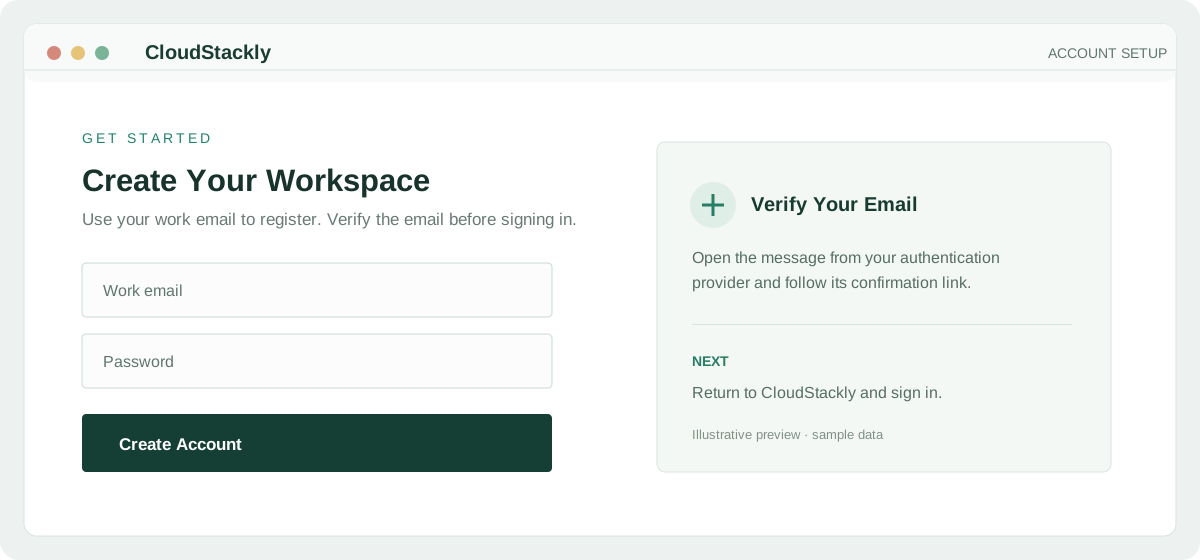
Choose Create account on the sign-in page, enter your work email and password, and submit the form. Open the verification email from your authentication provider and follow its link; then return to CloudStackly and sign in. If the verification link opens an unexpected address, check that the site’s Supabase authentication URL settings include https://cloudstackly.com and that the email link points back to CloudStackly.
The one-time free trial is 15 publishing credits per eligible workspace and does not require a card. You can begin with the trial or select a paid monthly plan under Account & Billing.
Illustrative Screen Preview · Sample Data
STEP 02
Add A Client Profile
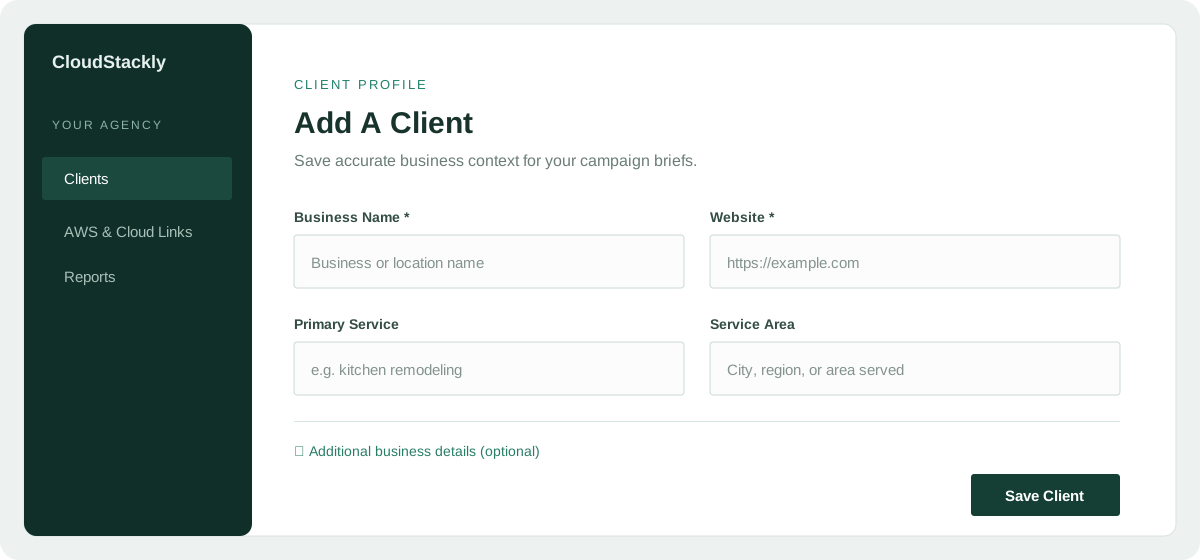
Open Clients and choose Add a client. Enter the client’s business name and website. Add the primary service and service area so campaign drafts have useful context. Expand Additional business details for accurate contact, address, Google Business Profile URL or Maps CID information when relevant. Save the profile, then select it when creating a project.
Only enter facts supplied or approved by the client. A Maps search helps identify a listing; it does not import or authorize access to the client’s Google Business Profile.
Illustrative Screen Preview · Sample Data
STEP 03
Set Up Your AWS Link Campaign
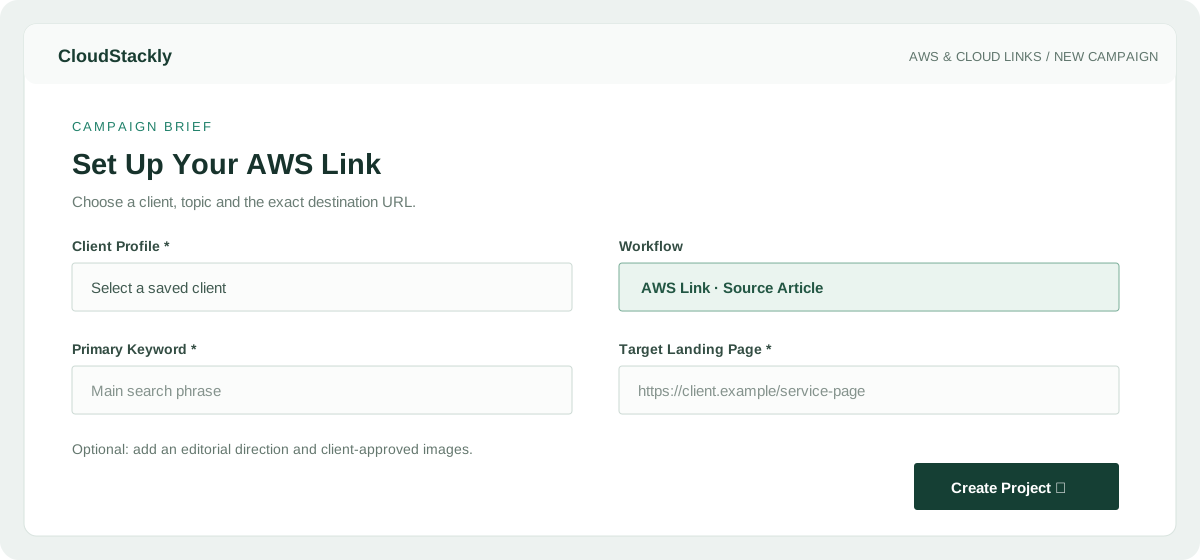
Open AWS & Cloud Links and choose New Link Campaign. Select the client, choose AWS Link, enter one primary keyword and the exact client landing page the source article should reference. Add a topic direction and client-approved images if useful. Create the project to save the brief. Generate the AWS article, review its facts, title and destination, then edit or regenerate it before approval. Publish the approved article and confirm its live URL in the project.
Creating a project saves the campaign brief; it does not itself publish an article. One credit is used for each article after successful publication and URL verification.
Illustrative Screen Preview · Sample Data
STEP 04
Understand The Publishing Chain
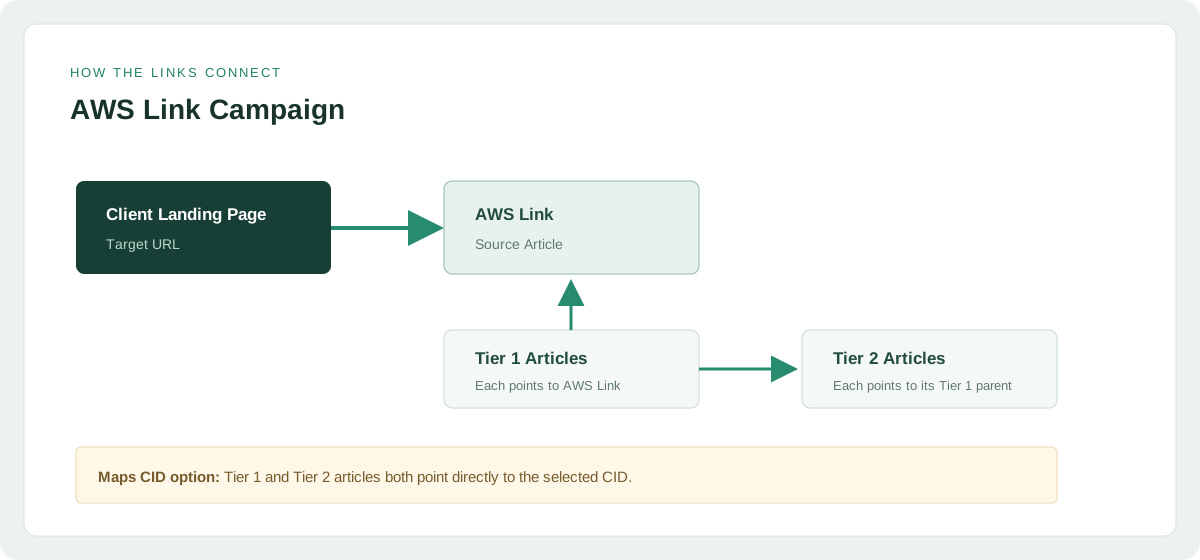
An AWS Link is the source article hosted on AWS. In the AWS workflow, Tier 1 supporting articles link to that AWS source, and each Tier 2 article links to its assigned Tier 1 parent. Publish in order: AWS source, Tier 1, then Tier 2. In the Maps CID workflow, both tiers point directly to the selected Maps CID. These are different campaign directions, so check the chosen destination before planning.
Tier 1 and Tier 2 are product labels for the selected page relationships. They do not guarantee search-engine indexing, ranking gains or link value.
Illustrative Link Flow · Example Structure
STEP 05
Choose Cloud Links And Publish
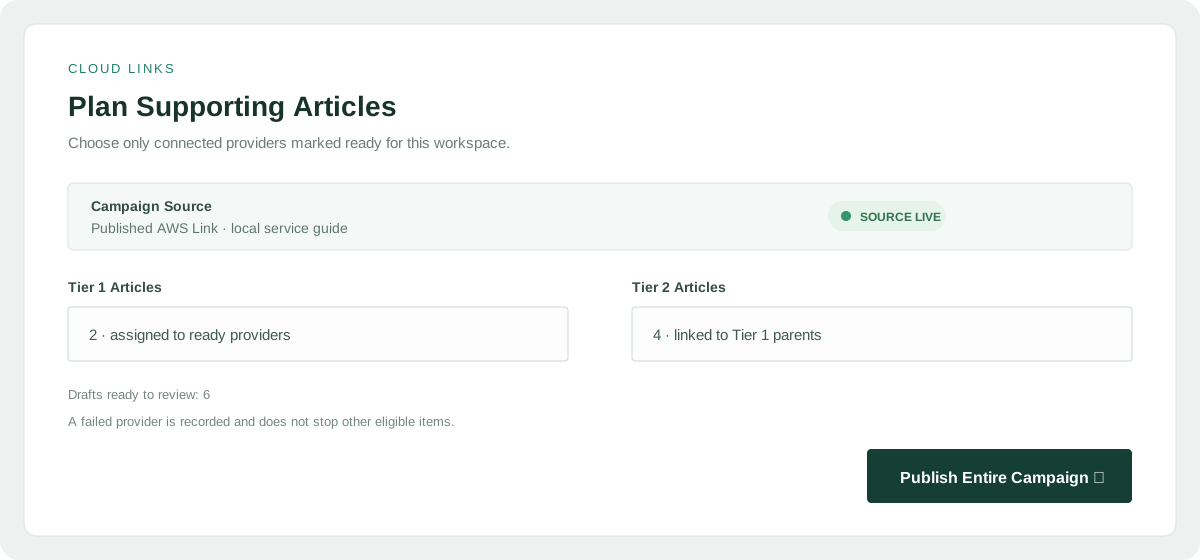
Open Cloud Links, check the connection status for each provider and select the campaign source (a published AWS Link or a Maps CID). Choose specific ready platforms and tier counts, or use all providers that are currently eligible. Review the generated drafts, then use Publish Entire Campaign to process the eligible articles. The run records each result and continues when a provider fails; correct the provider’s credentials, permissions or setup and retry that item from its card.
A platform appearing in the list does not mean its account is connected. Only providers marked ready and eligible can publish in that workspace.
Illustrative Screen Preview · Sample Data
STEP 06
Submit URLs And Check Omega Status
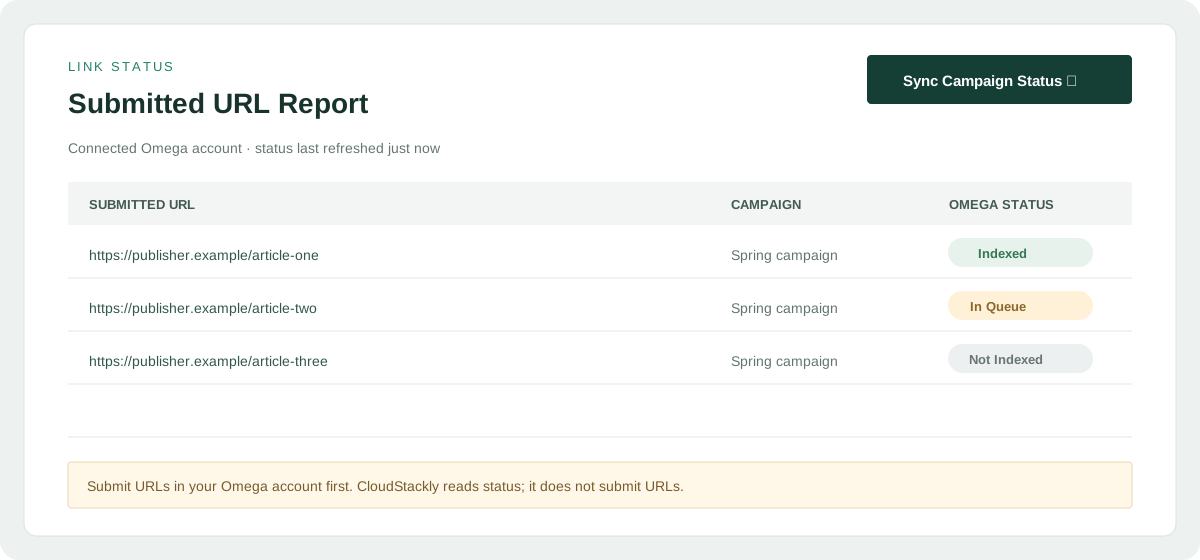
After publication, open Link Status and connect your own Omega account using its displayed device authorization flow. Submit the live URLs to Omega from that Omega account. Return to CloudStackly and select Sync Campaign Status or refresh the submitted URL report to read the latest status. The table helps you review each submitted URL and its returned status.
CloudStackly reads Omega campaign and URL status. It does not submit URLs or modify Omega indexing campaigns. A published or reachable URL is not necessarily indexed; the status is whatever Omega reports for the URL.
Illustrative Screen Preview · Sample Data
STEP 07
Review Credits And Export A Report
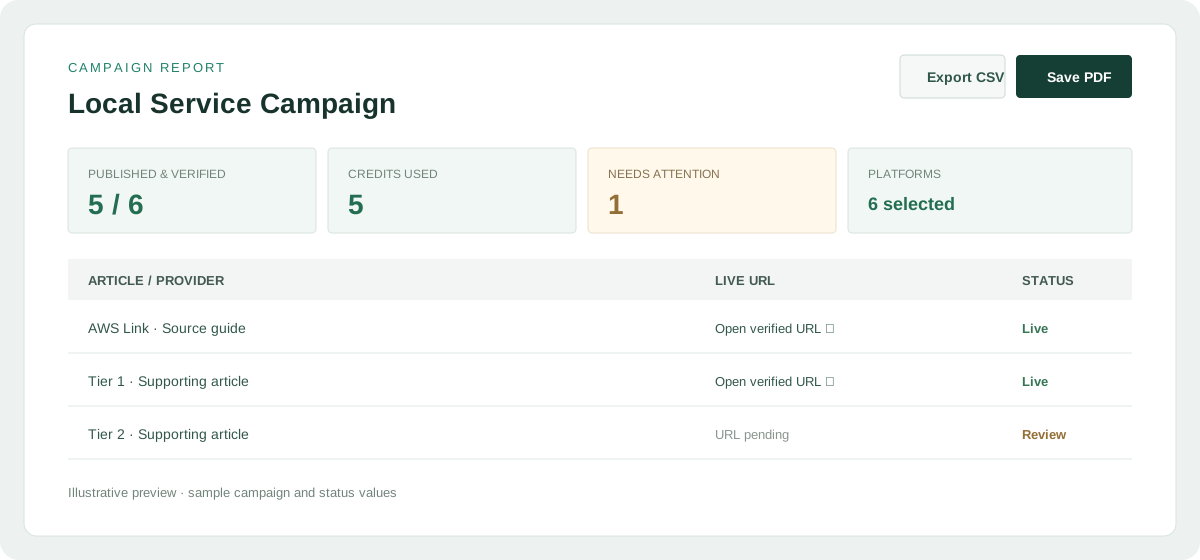
Open Reports or select the campaign to review article titles, providers, live URLs, publication and verification status, timestamps, link destinations, errors and credit activity. Use the available export or print controls to save a client-ready report. Account & Billing shows trial, purchased, used and remaining credits, plus the transaction ledger and subscription controls.
Drafts and failed publication attempts do not use a publishing credit. For an unsuccessful article, open its provider card, read the error, fix the connection or permissions, and retry.